


 United States


 Best Seller
 All Printers
 All PDAs
 All Tablets
 All Thermal Labels
 Printer Accessories
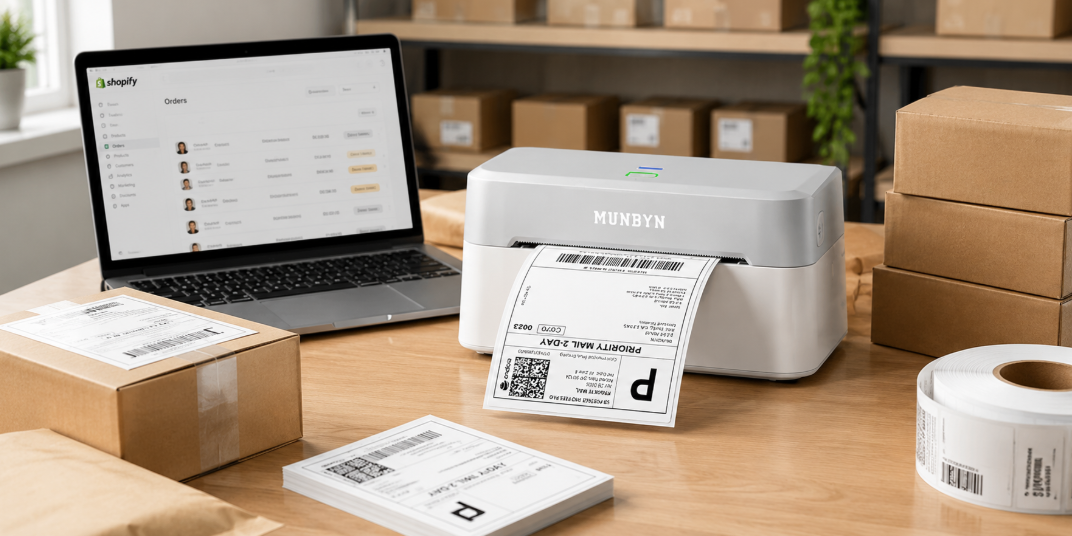
If you recently bought a MUNBYN thermal label printer and are trying to connect it to your MacBook or iMac, you are not alone. One of the most common issues Mac users face is figuring out how to properly install the MUNBYN printer driver, especially with newer macOS security settings.
Whether you use a MUNBYN shipping label printer for Shopify orders, Amazon FBA, Etsy, eBay, warehouse inventory, or barcode labels, this guide will walk you through everything you need to know.
In this article, you’ll learn:
- How to download and install the MUNBYN Mac driver
- How to add your thermal printer on macOS
- Common installation problems and fixes
- How to print your first test label
- Frequently asked questions from Mac users
Before You Start
Before installing the driver, make sure you have the following ready:
1. Your MUNBYN Printer
Connect the printer to power and turn it on.
2. USB or Type-C Cable
Use the original cable included with your printer whenever possible.
3. macOS Compatibility
Most modern MUNBYN printers support macOS 10.9 and newer.
4. Stable Internet Connection
You’ll need internet access to download the latest driver package.
7 Steps to Install MUNBYN Printer Driver on Mac
Step 1: Download the MUNBYN Mac Driver
The first step is downloading the official MUNBYN printer driver for Mac. MUNBYN provides dedicated drivers for different printer models. The safest option is always to download directly from our official support center. Details on this guide.
After downloading:
- Locate the .dmg installation file in your Downloads folder
- Double-click the file
- Open the installer package (.pkg)
- Follow the installation wizard
Step 2: Allow the Driver in macOS Security Settings
This is the step where many Mac users get stuck. macOS often blocks third-party drivers from unidentified developers, especially on newer systems like macOS Ventura, Sonoma, and Sequoia. If you see a warning message saying the driver cannot be opened:
Here’s how to fix it:
- Open System Settings
- Go to Privacy & Security
- Scroll down to the Security section
- Find the blocked MUNBYN driver notification
- Click Allow Anyway
- Reopen the installer
After approval, the installation should be completed normally.
Step 3: Complete the Driver Installation
Once permissions are approved:
- Continue through the installer prompts
- Accept the license agreement
- Install the software
- Enter your Mac password if prompted
-
Wait for the “Installation Successful” message
Step 4: Connect the MUNBYN Printer to Your Mac
Now connect your printer using USB or Type-C.
Important tips:
- Keep the printer powered on
- Connect directly to your Mac if possible
- Avoid unstable USB hubs during setup
- Use the same USB port consistently
If your Mac does not recognize the printer immediately:
- Unplug and reconnect the cable
- Restart the printer
- Restart your Mac
Step 5: Add the Printer on macOS
After the driver installation, you must manually add the printer.
Here’s how:
- Open System Settings
- Go to Printers & Scanners
- Click the + button
- Select your MUNBYN printer
-
Under “Use,” choose:
-
Select Software
-
-
Choose:
-
Label Printer
-
- Click Add
Once added successfully, your printer should appear in the printer list.
Step 6: Configure the Correct Label Size
One of the biggest reasons shipping labels print incorrectly is mismatched label sizing.
For example:
- Your PDF may be 4” × 6”
- Your printer settings may still be set to Letter size
- Your label roll might use a different dimension
Step 7: Print a Test Label
After setup, print a sample label to confirm everything works properly. A successful test print should:
- Print clearly
- Align correctly
- Stop at the proper label edge
- Avoid blank spaces

Common MUNBYN Mac Driver Problems and Fixes
Even when following the installation steps correctly, Mac users occasionally encounter issues. Here are the most common problems and solutions.
Problem 1: Mac Cannot Detect the Printer
Solutions:
- Reconnect the USB cable
- Try another USB port
- Restart both the printer and Mac
- Reinstall the driver
- Use the original cable
Problem 2: Driver Installation Is Blocked
Solution:
Go to: System Settings → Privacy & Security → Allow Anyway
Problem 3: Labels Print Blank
Possible Causes:
- Labels inserted upside down
- Incorrect media type
- The thermal side facing the wrong direction
Problem 4: Label Size Is Incorrect
Fix:
- Document size matches label size
- Printer settings match the label roll
- Print scaling is set to 100%
Problem 5: Printer Shows Offline
Fix:
- Remove and re-add the printer
- Restart macOS print services
- Reinstall the driver
- Check cable connection
Best Practices for Smooth Printing on Mac
Once your printer is working correctly, these tips help maintain stable performance.
Use Official Drivers Only
Avoid downloading drivers from random third-party websites. Official drivers are updated to support newer macOS versions and meet security requirements.
Keep Your macOS Updated
New macOS updates often improve printer compatibility and USB device stability.
Save Printer Presets
Save presets for:
- 4 x 6 shipping labels
- Barcode labels
- Product labels
- Inventory labels
Use Quality Thermal Labels
Poor-quality labels can cause:
- Faded prints
- Feeding issues
- Adhesive buildup
- Sensor errors
For better printing performance, use compatible thermal labels designed for shipping and barcode applications. You can explore MUNBYN-compatible thermal labels here: MUNBYN Thermal Labels Collection
Choosing the Right MUNBYN Printer for Mac
If you haven’t purchased a printer yet or are considering upgrading, MUNBYN offers multiple Mac-compatible thermal printers for different business needs.
Popular use cases include:
- Shipping labels
- Warehouse inventory
- Shopify fulfillment
- Amazon FBA labels
- Etsy order management
- Barcode printing
- Small business packaging
Browse the latest printer lineup here: MUNBYN Printers Collection
Use the limited-time discount code "SEOBF”, and enjoy an extra 8% off for MUNBYN printers and label stickers.
Final Thoughts
Installing a MUNBYN printer driver on Mac may seem confusing initially, especially with Apple’s security restrictions, but the actual process is fairly simple once you follow the correct setup order.
Once everything is configured properly, MUNBYN thermal printers work reliably with MacBooks, iMacs, and other macOS devices for daily shipping and labeling tasks.
If you run into problems, most issues are related to security permissions, USB detection, or incorrect label settings — all of which are fixable in just a few minutes.
FAQs
1. How do I install a MUNBYN printer on macOS Sonoma?
The installation process on macOS Sonoma is similar to earlier versions. Download the official driver, allow the installer in Privacy & Security settings, complete the installation, and manually add the printer in Printers & Scanners.
2. Why is my MUNBYN printer not showing up on Mac?
This is usually caused by:
- USB connection problems
- Driver installation issues
- Incorrect permissions
- Faulty USB hubs
Reconnect the cable, restart the printer, and reinstall the driver if necessary.
3. Does MUNBYN support MacBook Air and MacBook Pro?
Yes. Most modern MUNBYN thermal printers support MacBook Air, MacBook Pro, iMac, and other macOS devices.
4. Why does macOS block the MUNBYN driver?
Apple security settings sometimes block third-party drivers by default. You can approve the installer manually in Privacy & Security settings.

Share:
Mastering Your Print Tech: Label Printing Mistakes to Avoid
How to Install MUNBYN Printer Driver on Windows in 2026