


 United States


 Best Seller
 All Printers
 All PDAs
 All Tablets
 All Thermal Labels
 Printer Accessories
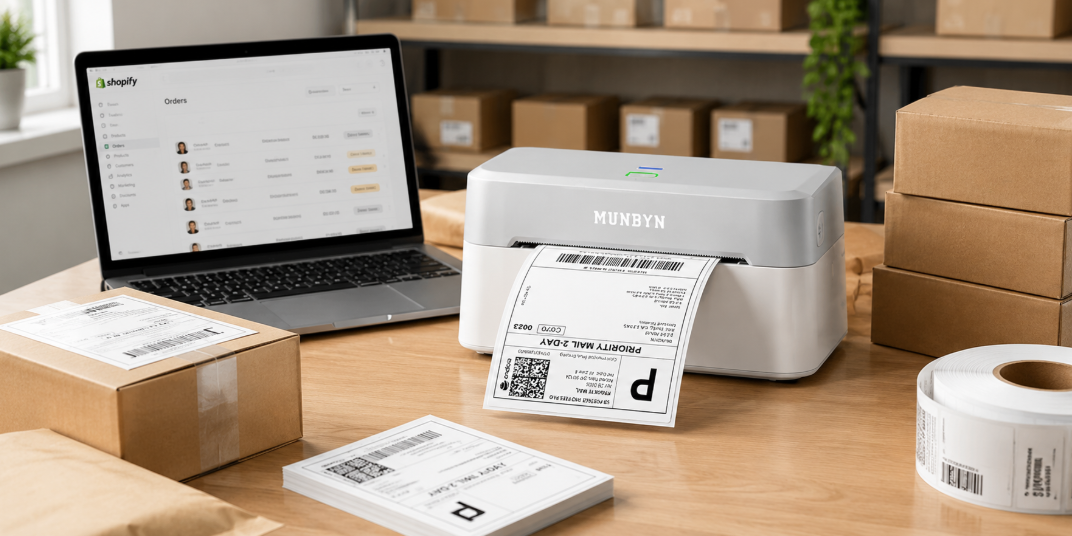
Got a shiny new MUNBYN thermal label printer and not sure where to start? You're in the right place. Installing the driver takes less than five minutes, and once it's done, you'll be printing crisp 4×6 shipping labels, inventory tags, or barcode stickers without a hitch.
This guide walks you through the full process — downloading the right driver, running the installer, choosing your connection method, and dialing in your print settings. We'll also cover the most common hiccups and how to fix them fast.
What You'll Need Before You Start
Before touching anything on your computer, take 60 seconds to get these basics sorted:
- Your MUNBYN label printer (such as the popular 405B, 403B, or 941B)
- A USB cable (usually included in the box)
- A Windows PC running Windows 7, 10, or 11
- The correct driver file — downloaded from the official MUNBYN support page
Step 1: Download the Correct Driver
Head to the MUNBYN Driver & SDK Download page on the support site. You'll find a table listing drivers by model number and operating system. Locate your printer model — for example, 941B — and click the Windows Download link next to it. Details on this guide.
The file will download as a .zip archive. Save it somewhere easy to find, like your desktop or Downloads folder.
Tip: Always download drivers directly from MUNBYN's official support site. Third-party driver repositories are a common source of malware and outdated files.
Step 2: Connect and Power On Your Printer
Before running the installer, get your printer ready:
- Load thermal label paper into the printer.
- Plug the printer into power using the included power cord.
- Press and hold the power button for about 3 seconds until the printer turns on.
- Connect the printer to your computer using the USB cable.
The order matters here. Connecting a powered-off printer sometimes causes Windows to miss the device during driver installation.
Step 3: Run the Installer
Open your Downloads folder, extract the .zip file, and locate the installer inside. Then:
- Double-click the installer to launch it.
- Click "Install the printer driver", then hit Next.
- When a Windows Security Alert appears asking if you want to allow the app to make changes, click Yes. This is expected — the driver has been tested on all current Windows versions and is safe to run.
Step 4: Choose Your Connection Method
The installer will ask how your printer is connected. Pick the one that matches your setup:
USB Connection (Most Common)
Select USB, click Next, then confirm your printer is connected and powered on. Click Next again and wait about a minute. When you see "Installation completed", you're done.
If Windows fails to detect the printer during this step, unplug the USB cable from both ends, reinsert it firmly, and try again.
LAN / Wi-Fi Connection
If you're setting up a WIFI printer:
- First, print the Wi-Fi info page: power off the printer, hold the FEED button, turn it back on, and release the button when you hear a beep. The printer will automatically print a self-test page showing its IP address.
- In the installer, select LAN and enter that IP address in the box.
- Click "Install Now" — the printer will print a short LAN detection receipt to confirm the connection.
Note: During LAN setup, Windows Defender Firewall may display a security alert. Click "Allow access" to let the driver communicate over the network.
Step 5: Verify the Installation
Once installation completes, let's confirm everything is working:
- Open Control Panel → Devices and Printers (or search "Printers & scanners" in Windows Settings).
- Look for "Label Printer" in the list. If it's there, the driver installed correctly.
-
If the printer doesn't appear, restart both the printer and your computer, then check again.
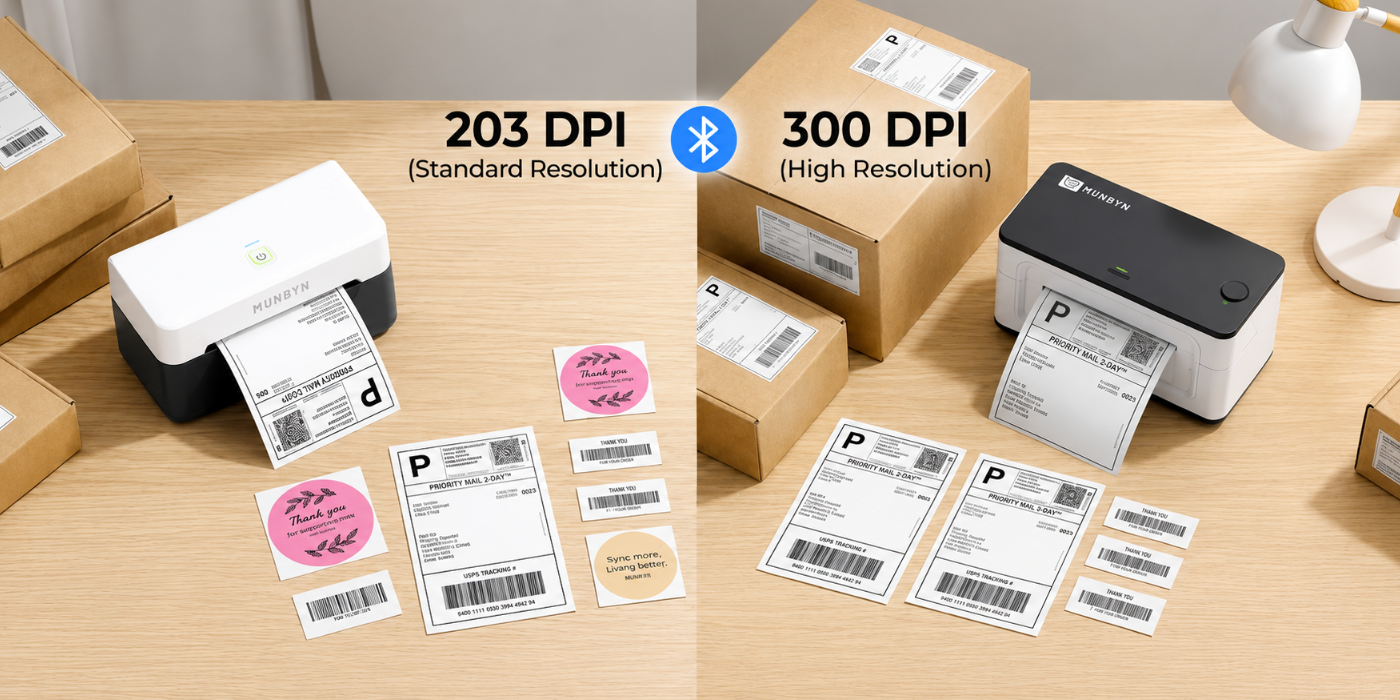
Step 6: Configure Print Speed and Darkness
Default settings work fine for most jobs, but a quick adjustment here can make a real difference in label quality — especially if you're printing small text or fine barcodes.
- In Devices and Printers, right-click Label Printer and choose Printer Preferences.
- Go to the Option tab.
- Adjust Print Speed (slower = sharper) and Darkness (higher number = darker print).
For shipping labels like MUNBYN 4×6 thermal shipping labels, a medium speed with darkness around 6–8 hits the sweet spot for clean, scannable barcodes.
Troubleshooting Common Issues
The printer isn't showing up in Devices and Printers
- Check that the USB cable is plugged in securely at both ends.
- Try a different USB port on your computer.
- Restart the printer and PC, then re-run the installer.
Windows won't let the installer run
- Right-click the installer and select "Run as administrator".
- Temporarily disable any third-party antivirus software during installation.
Labels printing is misaligned or blank
- Make sure the label size in Printer Preferences matches your actual label roll. Most MUNBYN 4×6 shipping labels use 100 × 150mm.
- Check that the labels are loaded correctly — the thermal coating faces up (shiny side).
You updated Windows and the printer stopped working
- Uninstall the current driver from Control Panel → Programs, then reinstall using the latest driver from the MUNBYN support page.
Skip the Driver Entirely: Try the MUNBYN Print App
If you'd rather not deal with drivers at all — or if you want to print from your phone — check out the MUNBYN Print app. It's a free label design and printing app that works without requiring manual driver setup. It supports a wide range of label sizes, making it especially handy for shipping, product labeling, and on-the-go inventory management.
Pair Your Printer With the Right Labels
A well-installed driver is only half the equation. The other half is using quality labels that your printer actually likes. MUNBYN's own line of thermal shipping labels is designed to work seamlessly with their printers — no ink, no ribbon, no smudging. They're available in popular sizes, including 4×6 for shipping, 2×1 for product labels, and a range of barcode formats.
Whether you're running a small Etsy shop or managing warehouse inventory, getting the label roll right from the start saves a lot of frustration down the line.
Final Thoughts
Installing the MUNBYN printer driver on Windows is a quick process once you know what to expect. Download the driver for your specific model, run the installer, pick your connection method, and you're printing in minutes. If anything goes sideways, the troubleshooting steps above cover the most common scenarios.

Share:
How to Install MUNBYN Printer Driver on Mac: Complete Step-by-Step Guide for 2026
Money Counter: UV, MG, IR, CIS Counterfeit Detection Explained